Images and Floats
Overview
Teaching: 0 min
Exercises: 0 minQuestions
How do I add images to my document?
Objectives
Learn about the float environments in LaTeX
Learn about the types of images which can be used in LaTeX
Import an image into a float
Include a caption with a float
Declare float locations
Learn how LaTeX handles text wrapping around a float
Resize an image
Include multiple images in a single float
The Float Environment
When LaTeX lays your text onto the page, it treats the paper as a single sized “bin” that holds
everything you tell it. However, sometimes we want to add a “bin within a bin” that holds content
for us. Furthermore, we want to be able to position this “bin within a bin” in a logical and
pretty way. For this we use the float environment.
Like the document environment, this must have a begin and end. We won’t worry about the size
right now, because LaTeX likes to handle that itself if possible. The simplest float will look
like:
\documentclass{article}
\begin{document}
  \begin{float}
    Text
  \end{float}
\end{document}
LaTeX is funny about content movement. We can only arrange things by a single environment at a time. Being able to add these floating environments will be useful to arrange things like figures and tables. If we did not contain these things, LaTeX would place them unintelligently.
Importing an Image
Using a float to hold text is usually pointless. What floats excel at is holding images. We will
use a special float environment called figure.
To add an image to our document, we must first include it. The most common way to do this is to
use the the graphicx package for the command includegraphics. If the image we want to include
is in the root directory of our document, we can simply include the filename, with extension, in
the command. Our simple version will look like this:
\documentclass{article}
\usepackage{graphicx}
\begin{document}
  \begin{figure}
    \includegraphics{lion.png}
  \end{figure}
\end{document}

The types of images that LaTeX supports depends on what you are using to compile. Since we will
be using pdflatex to compile, we will only use .jpg, .png, and .pdf files for image. In
the beginning, it is best to keep things simple.
Resizing and Scaling an Image
Our image has loaded, but it is much too large. The float container spills over into the margin and part of the figure is lost. We need to control the size of the image somehow.
Image sizing options are possible with the includegraphics command. You simply put the size info
in square brackets before the curly braces. We can give the image a width and height. You
must include some sort of unit with your size reference. There are many units possible in LaTeX,
but it is wise to keep to the first few on the following table for now. The remaining units are
more suited for folks with advanced typesetting needs.
| Unit | Meaning | Value in points (pt) | Value in microns (𝜇m) |
|---|---|---|---|
| pt | point | 1 | 351.46 |
| mm | millimeter | 2.84 | 1000 |
| cm | centimeter | 28.4 | 10000 |
| in | inch | 72.27 | 25400 |
| ex | height of an x |
depends on font | depends on font |
| em | height of an M |
depends on font | depends on font |
| bp | big point (1/72 in) | 1.00375 | 352.778 |
| pc | pica | 12 | 4218 |
| dd | didot | 1.070 | 376 |
| cc | cicero (12 didot) | 12.84 | 4512 |
| nd | new didot | 1.067 | 375 |
| nc | new cicero (12 nd) | 12.80 | 4500 |
| sp | scaled point | 0.000015 | 0.00536 |
\documentclass{article}
\usepackage{graphicx}
\begin{document}
  \begin{figure}
    \includegraphics[width=1cm, height=200px]{lion.png}
  \end{figure}
\end{document}
When you specify both a height and a width, LaTeX will resize the image exactly as it is told. This makes the lion image in our example take on bizarre dimensions. What is often best to do is to only include one dimensional constraint. If the user tells LaTeX to make an image with a certain width, then LaTeX will adjust the height of the image to keep the same aspect ratio.
There are additional units that become useful when sizing images and floats. The following table lists some important ones. These values are set within the LaTeX code when the page is first laid out. Furthermore, these values can be modified by multipliers when called. This makes it easy to construct an image which is half the size of the maximum line width on the page.
| Unit Command | Meaning |
|---|---|
\baselineskip |
Vert. distance between lines of text |
\baselinestretch |
Multiplier for \baselineskip |
\columnsep |
Distance between columns |
\columnwidth |
Width of a single column |
\evensidemargin |
Margin size on even numbered pages |
\linewidth |
Width of a line of text |
\oddsidemargin |
Margin size on odd numbered pages |
\paperwidth |
Width of the page |
\paperheight |
Height of the page |
\parindent |
Size of paragraph indent |
\parskip |
Extra vertical space between paragraphs |
\tabcolsep |
Table column separation space |
\textheight |
Height of text on the page |
\textwidth |
Width of text on the page |
\topmargin |
Size of the top margin |
\documentclass{article}
\usepackage{graphicx}
\begin{document}
\begin{figure}
\includegraphics[width=0.5\linewidth]{lion.png}
\end{figure}
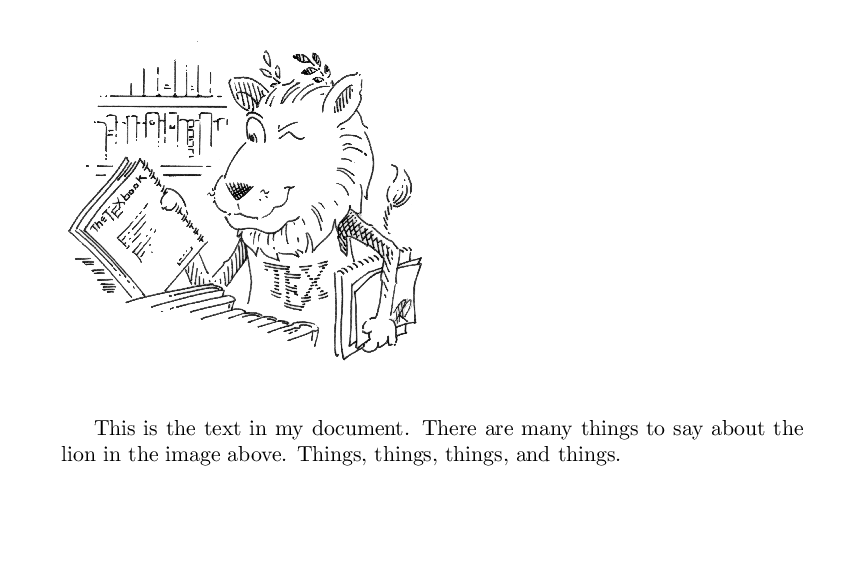
This is the text in my document. There are many things to say about the lion in the image above.
Things, things, things, and things.
\end{document}
The
includegraphicscommand can also be used to import PDFs with more than one page. The page number of the page you want displayed is selected in the options of the command.\documentclass{article} \usepackage{graphicx} \begin{document} \begin{figure} \includegraphics[width=\textwidth, page=3]{lion.pdf} \end{figure} \end{document}
Telling the Float Where to Go
When a float is called, it must be told where to position itself on the page. Rather than have the user specify exactly where the float should go, LaTeX handles this automatically. The advantage to this method is that the position will always look “good” relative to the document. Some classes and styles will further restrict float placement to fit with the format’s intended audience (e.g. IEEE Journals only want images placed at the top of the page, not in the lines of the text).
Positional arguments are passed as options to the figure environment. Use the syntax:
\begin{figure}[key]
  contents of figure environment
\end{figure}
The following are valid positions within the figure environment.
| Key | Function |
|---|---|
| h | about here |
| t | top of the page |
| b | bottom of the page |
| p | alone on a page |
| ! | modifier: DO IT |
Floats will always appear on the leftmost side of the page. However, this is rarely an
attractive way to present figures. Placing a float in the center of the page is often best. To
center a float, the float must told to use centering. Note that this is a command, not an
environment. When it is called, all content within the environment will be centered.
\documentclass{article}
\usepackage{graphicx}
\begin{document}
\begin{figure}
\centering
\includegraphics[width=0.5\linewidth]{lion.png}
\end{figure}
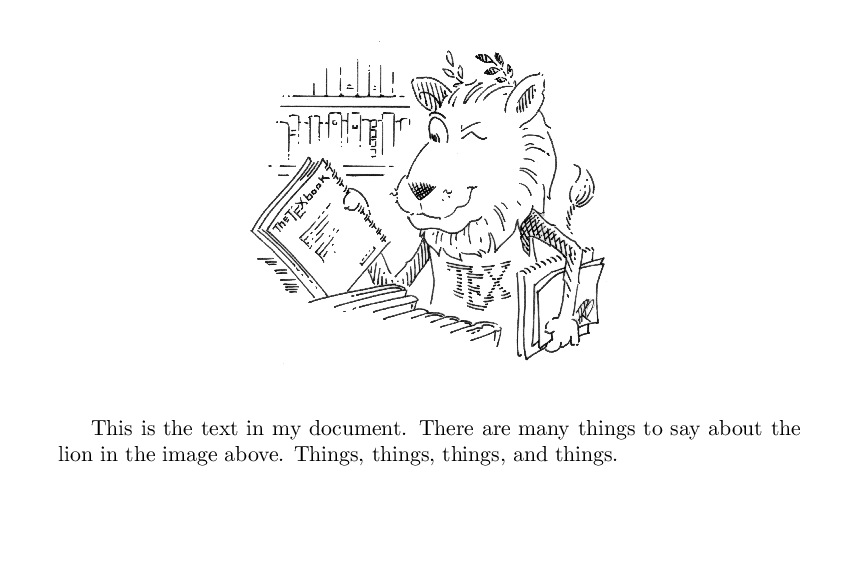
This is the text in my document. There are many things to say about the lion in the image above.
Things, things, things, and things.
\end{document}
Captioning Floats
Captions can be applied to the contents of a float environment by including a caption command.
This command will include specially formatted text, complete with automatic numbering, for the
contents of that float. Controlling the location of the caption relative to the image inside
the float is simple. If the caption command is called before the includeimage command, it
will be above the image. If called after the includeimage command, it will be below the image.
\documentclass{article}
\usepackage{graphicx}
\begin{document}
  \begin{figure}
    \centering
    \includegraphics[width=0.5\linewidth]{lion.png}
    \caption{This lion is the TeX mascot}
  \end{figure}
\end{document}

Wrapping Text
If we want to wrap text around our images, we need to modify our method slightly. We will use
the wrapfig package, and we will replace the figure environment with wrapfigure. We need to
tell wrapfig which side we want the image to go on, relative to our text, and then we tell it how
much space to set aside. We have several options for where the text goes:
| about here | HERE! | Meaning |
|---|---|---|
| r | R | Right side of the text |
| l | L | Left side of the text |
| i | I | Inside edge (near binding) |
| o | O | Outside edge (away from binding) |
Should we want an image on the left side of the page about half the size of the useable text space, we would use:
\documentclass{article}
\usepackage{graphicx}
\usepackage{wrapfig}
\begin{document}
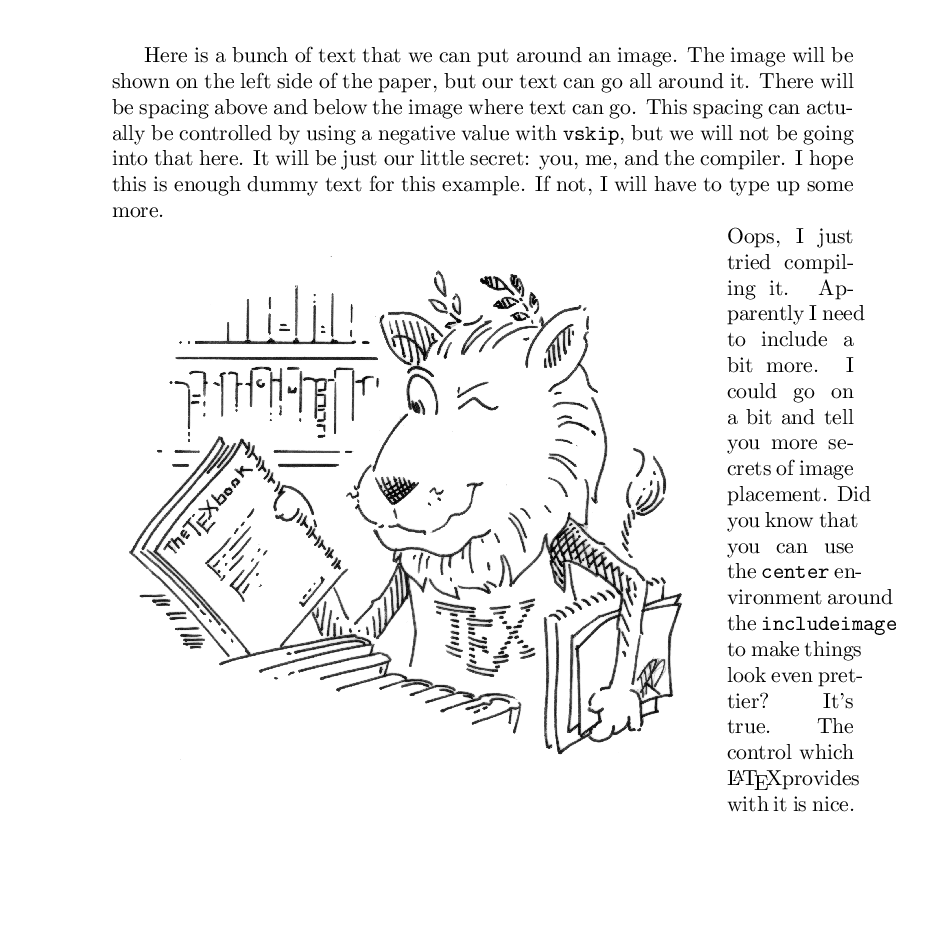
Here is a bunch of text that we can put around an image. The image will be shown on the left
side of the paper, but our text can go all around it. There will be spacing above and below the
image where text can go. This spacing can actually be controlled by using a negative value with
\texttt{vskip}, but we will not be going into that here. It will be just our little secret: you,
me, and the compiler. I hope this is enough dummy text for this example. If not, I will have to
type up some more.
\begin{wrapfigure}{l}{0.80\textwidth}
\centering
\includegraphics[width=0.78\textwidth]{lion.png}
\end{wrapfigure}
Oops, I just tried compiling it. Apparently I need to include a bit more. I could go on a bit
and tell you more secrets of image placement. Did you know that you can use the \texttt{center}
environment around the \texttt{includeimage} to make things look even prettier? It's true. The
control which \LaTeX provides with it is nice.
\end{document}
It is important to note that the included image is slightly smaller than the size of the
wrapfigureit is contained within. There is no automatic correction for sizes, and LaTeX does
exactly what it is told. If you tell it to put a bigger image in the container than will fit,
you can expect it to spill out in strange ways.
Two Images, One Float
Multiple figures can be added to a single float environment using the subfigure environment
within the figure environment. The subfigure command is contained within the subcaption
package. Each subfigure must be given a size value which is reasonable for the size of the page.
After each of these subfigure environments, add a non-breaking space (~) so there is an
appropriate room between each part.
When using
subfigureenvironments within afigureenvironment, it is important to consider how the environments are nested. The positioning and size options given withsubfigureare subordinate on the options given tofigure. Even if you tell eachsubfigureto position withb, if you tellfigureto position witht, the float will appear at the top of the page.
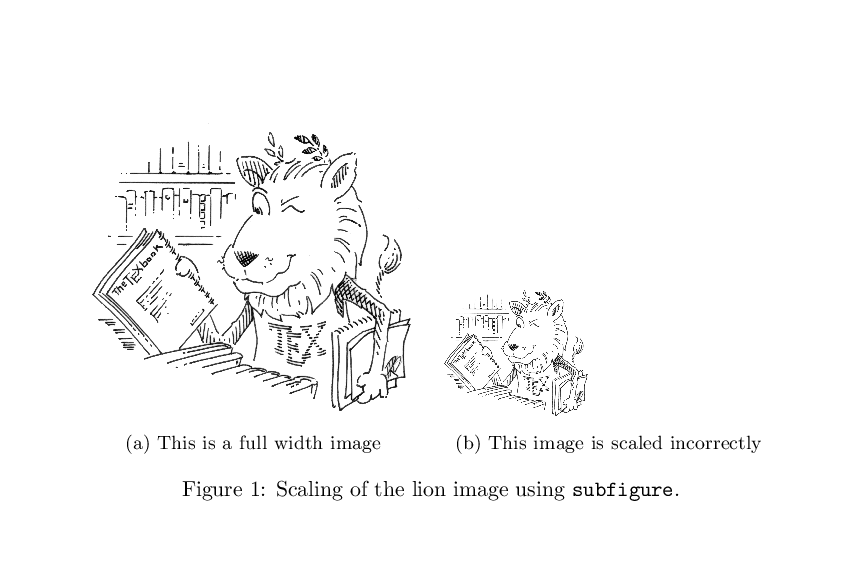
The size of each subfigure is declared when the environment is called. However, the
includegraphics commands still needs size information. When the subfigure is given a size,
the subfloat is treated like a tiny page. Watch what happens when we tell the loaded image to
use the full width available compared to a fraction of it like we usually would:
\documentclass{article}
\usepackage{graphicx}
\usepackage{subcaption}
\begin{document}
  \begin{figure}[t]
    \centering
    \begin{subfigure}[b]{0.45\textwidth}
      \includegraphics[width=\textwidth]{lion.png}
    \end{subfigure}
    ~
    \begin{subfigure}[b]{0.45\textwidth}
      \includegraphics[width=0.45\textwidth]{lion.png}
    \end{subfigure}
  \end{figure}
\end{document}

If we want to use captions with subfigures, we need to consider whether we want captions for the
entire float, or if we want individual captions for each subfloat. The position we issue the
command caption will determine where the caption goes.
\documentclass{article}
\usepackage{graphicx}
\usepackage{subcaption}
\begin{document}
  \begin{figure}[t]
    \centering
    \begin{subfigure}[b]{0.45\textwidth}
      \includegraphics[width=\textwidth]{lion.png}
      \caption{This is a full width image}
    \end{subfigure}
    ~
    \begin{subfigure}[b]{0.45\textwidth}
      \includegraphics[width=0.45\textwidth]{lion.png}
      \caption{This image is scaled incorrectly}
    \end{subfigure}
    \caption{Scaling of the lion image using \texttt{subfigure}.}
  \end{figure}
\end{document}
Key Points
Create an image within a float with
figureandincludegraphicsUse
graphicxto include a non-eps vector image in a floatAdd a caption to the floated image with
captionChange the position of a float on the page with
h,t,b,p, and!Change how the text is wrapped around the float with
wrapfigureAlter the size of an image within a float using
heightandwidthoptionsAdd multiple graphics to a single float using
subfigureCaption each subfigure with the
subcaptionlibrary